Skip to content Skip to footer

1. Onboading

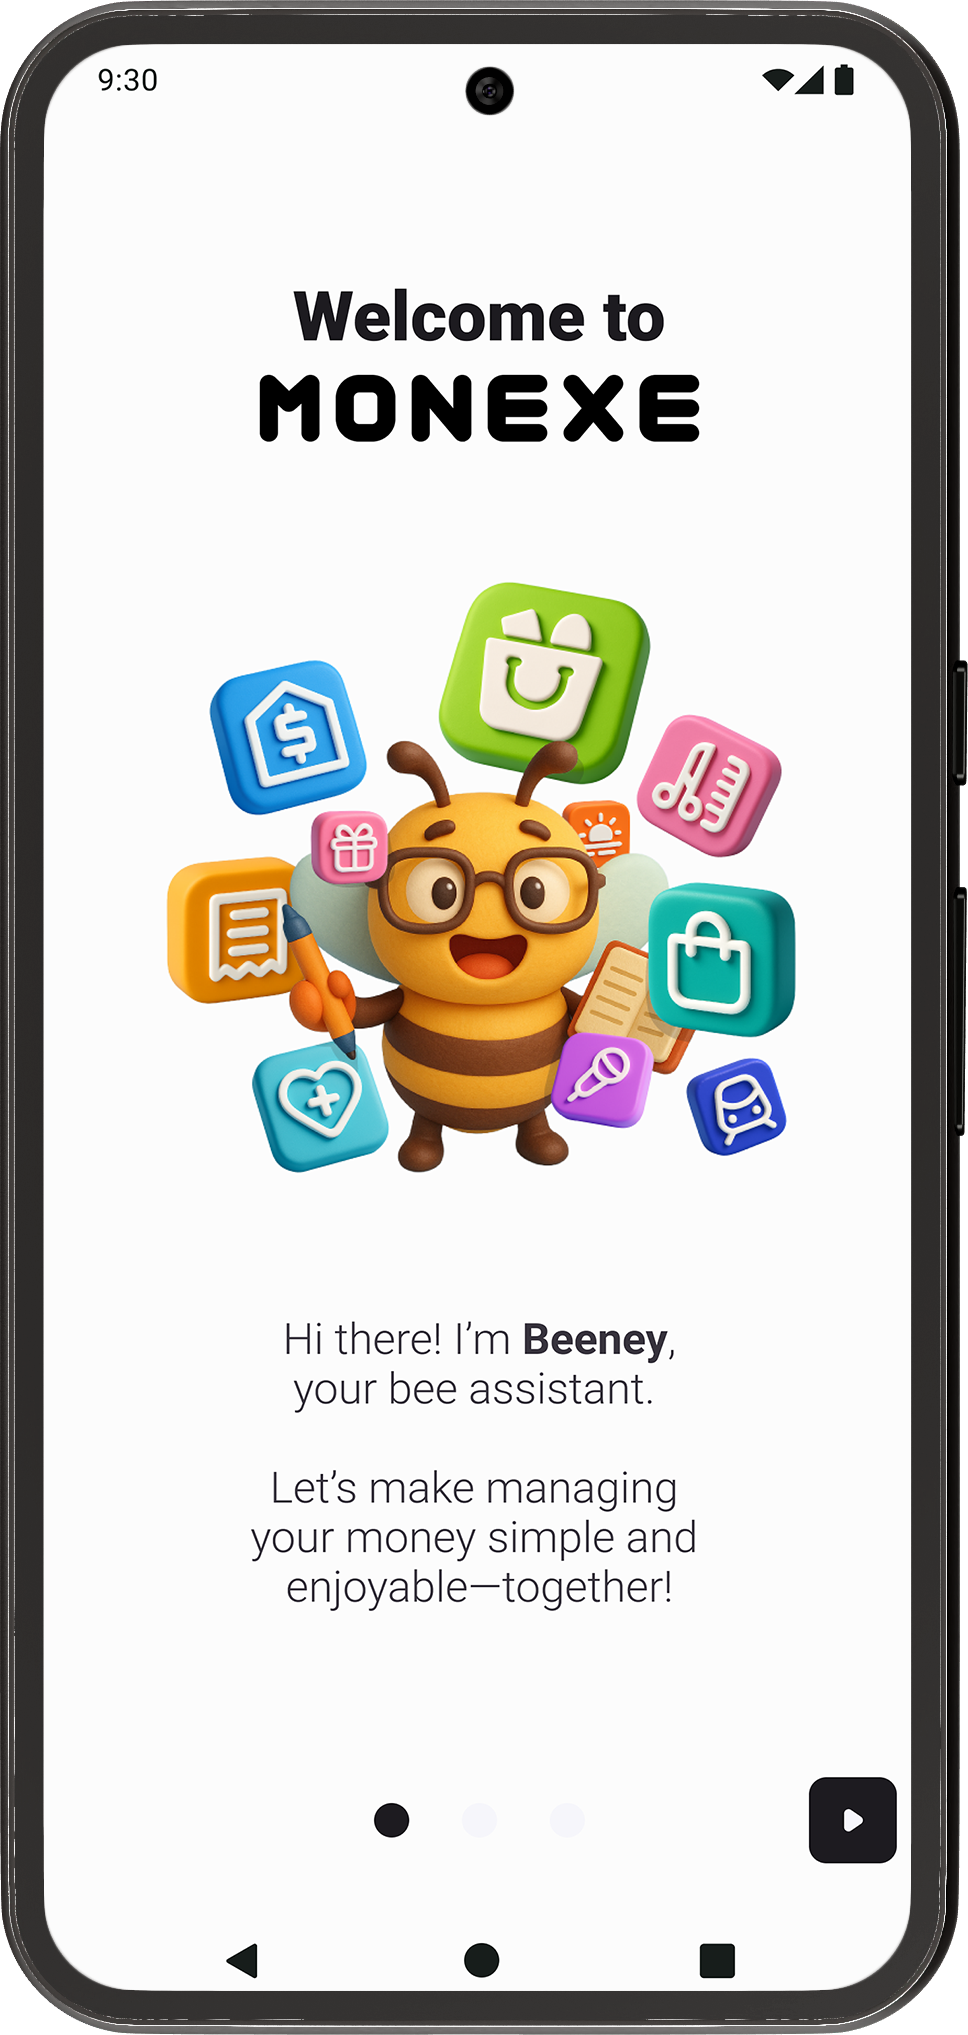
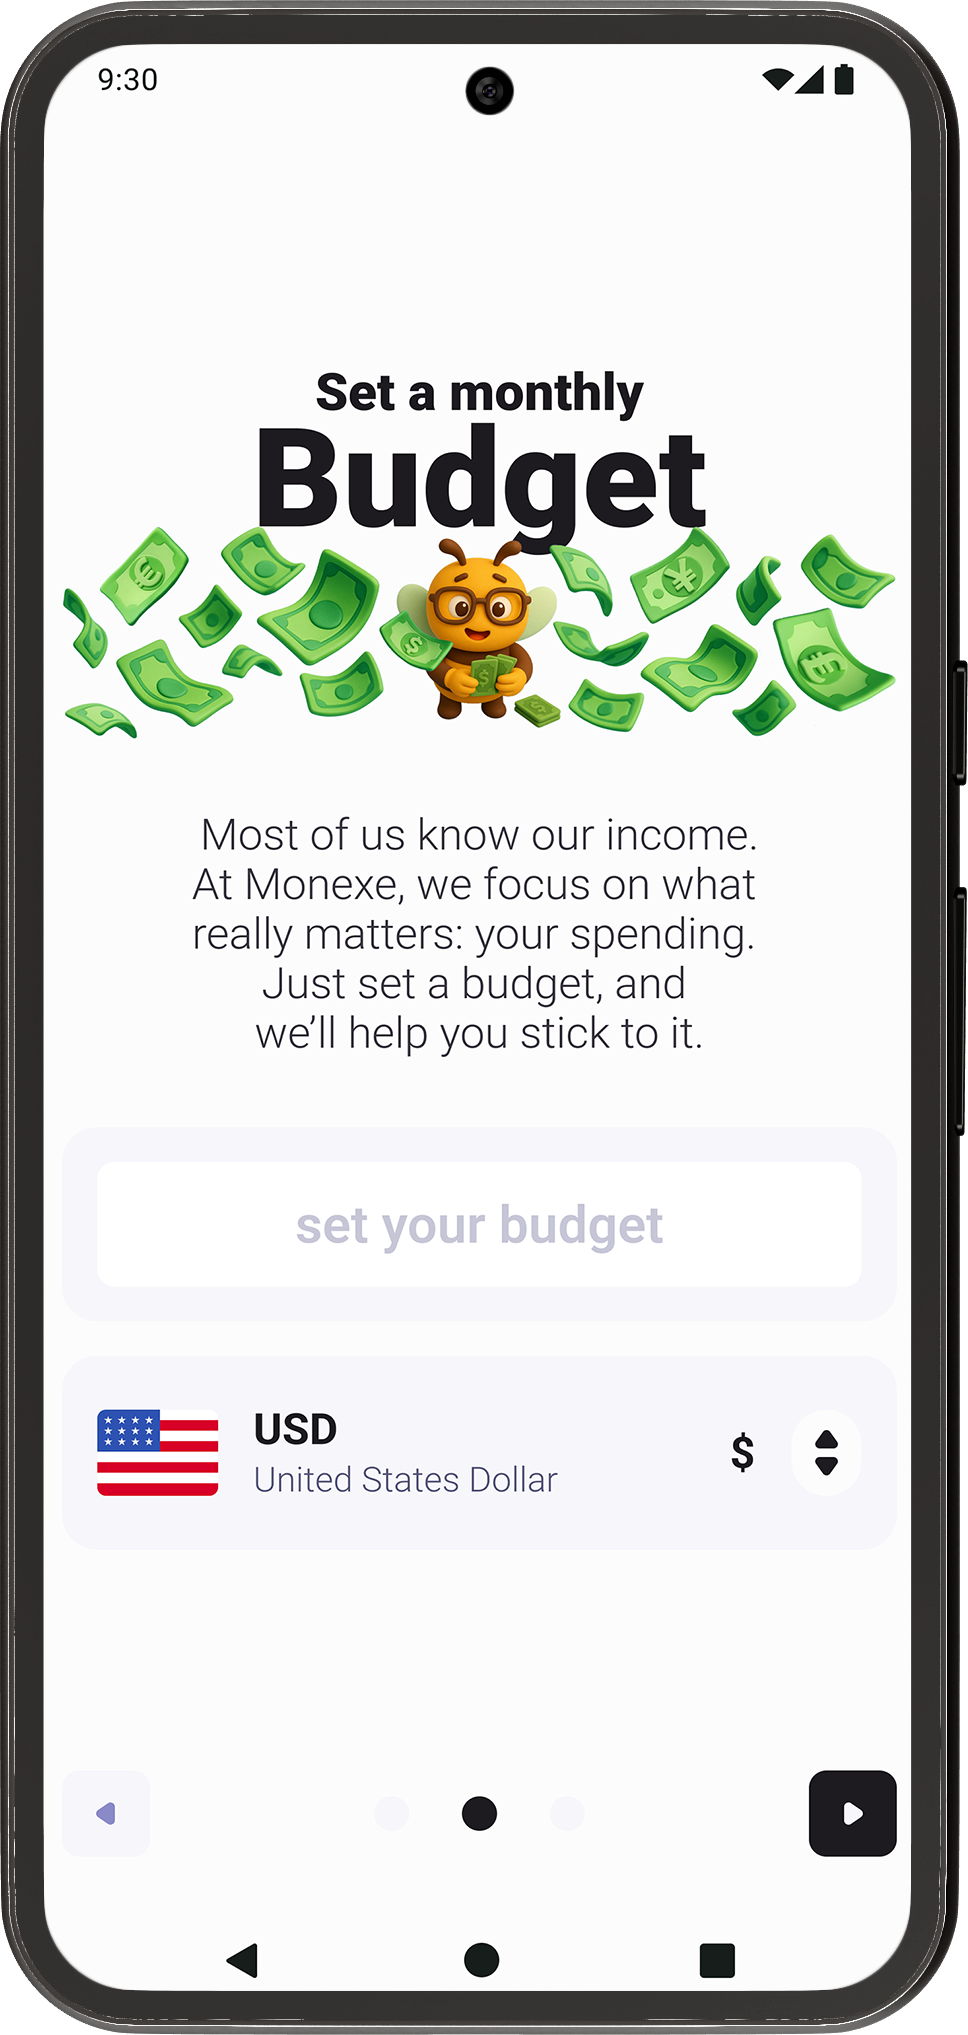
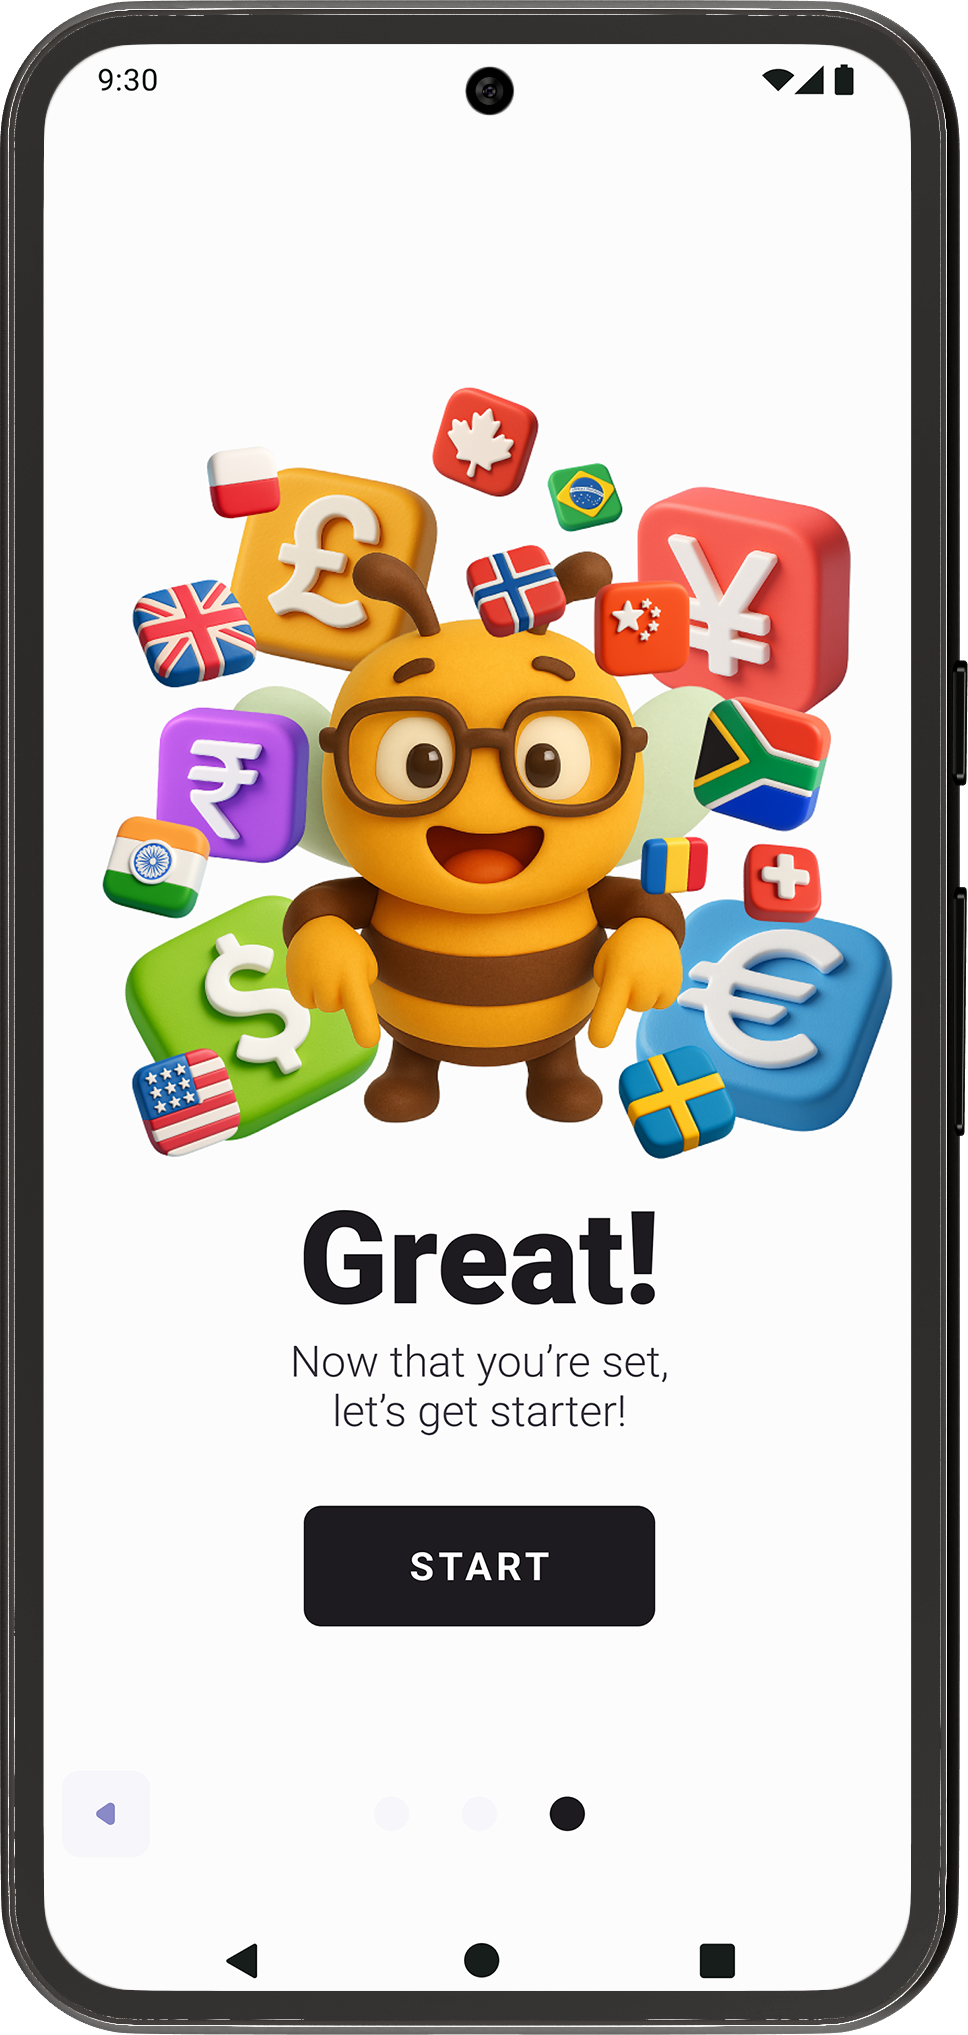
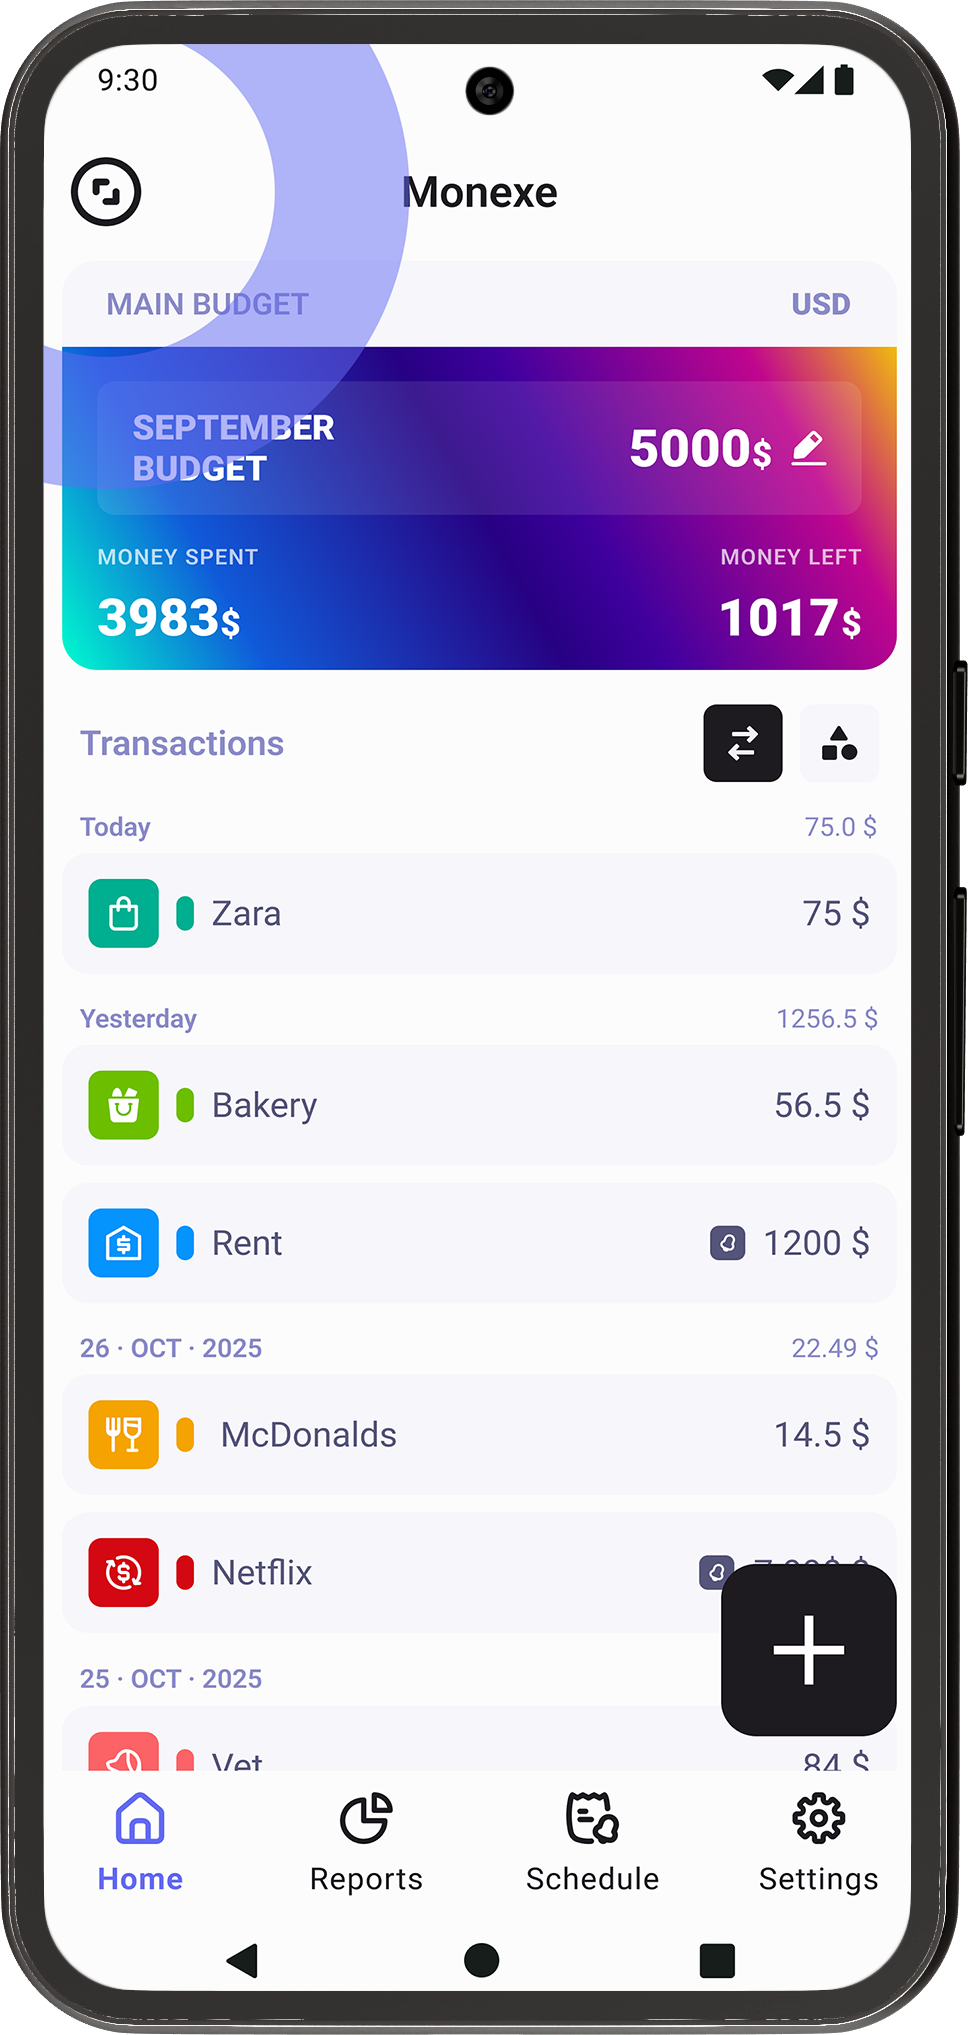
Welcome to Monexe, your smarter way to manage money. Our onboarding experience is designed to get you set up in just a few simple steps—no stress, no clutter. You’ll meet Beeney, your friendly budgeting assistant, choose how you want to track your finances, and be ready to take control of your money in minutes.

1.1
Welcome

Welcome aboard! Beeney is here to help you track spending, plan budgets, and build better financial habits—making money management feel simple and even a little fun.

1.2
Set Budget

Set up your budget and choose your preferred currency from over 80 supported options worldwide. This step ensures your finances are tracked accurately and tailored to your lifestyle.

1.3
Start

You’re all set! This final screen confirms that everything is ready. With a simple tap on the Start button, you’ll enter the app and begin managing your money with confidence and clarity.

2. Adding Transactions

2.1
New Transaction

To add a new transaction at any time, simply tap the plus (+) button located in the bottom-right corner of the app. This button is always accessible, making it quick and easy to record transactions.

2.2
Enter Amount

Start by entering the transaction amount. As soon as the amount is filled in, the app automatically displays the list of available categories, helping you continue the process without extra steps.

2.3
Select Category

Use the Show All / Hide All button to expand or collapse the full list of categories. This makes it easier to browse all options or keep the view clean and focused while selecting the right category.

2.4
Set Name

After selecting a category, the Name section becomes active. Here, you can label your transaction by typing a custom name, choosing from previously saved names, or creating a new one if you expect to reuse it.

2.5
Save New Name

If you’re adding a new transaction name, simply type it in and tap the Add button. The name will be saved to your list, making it quicker to select next time you log a similar transaction.

2.6
Set Date

Use the Set Date buttons to choose when the transaction occurred. You can quickly select Today or Yesterday, or pick a specific date from the calendar for more precise tracking.

2.7
Add Transaction

Once all details are set, press the Add button to save the transaction. It will instantly appear in your transaction list, keeping your finances organized and up to date.

2.8
Transaction Added

Transactions are grouped by day, and each day includes a total amount, making it easy to review your spending or income and understand your daily financial activity quickly and effortlessly.

3. Edit Transactions & Budget

3.1
Transactions

You can edit a transaction at any time by simply tapping on any existing transaction in your list. This gives you quick access to make changes whenever something needs updating.

3.2
Edit Transaction

In the Edit Transaction screen, you can modify all transaction details, including the amount, category, name, and date. If needed, you also have the option to delete the transaction entirely.

3.3
Edit Budget

To change your budget, tap the pencil icon next to the current budget value. This allows you to quickly adjust your budget whenever your financial goals or circumstances change.

3.4
Set New Budget

In the Edit Budget pop-up, enter your new budget amount and tap Save. The updated budget will be applied immediately, keeping your financial plan accurate and up to date.

4. Adjust Card Size

4.1
Large Card

Use the toggle button to quickly switch between the Transactions screen and the Categories screen. This makes it easy to move between detailed transaction tracking and a broader category overview.

4.2
Medium Card

With a single tap on the round button, the budget card changes to a medium size, giving you a balanced view that shows key budget information without taking up too much space.

4.3
Small Card

Tap the button again to reduce the budget card to its smallest size. This option is ideal if you want a cleaner layout or more room to focus on your transactions.

4.1
Large Card

In addition to using the round button, you can also adjust the budget card size by tapping directly on the card itself. Each tap cycles through the available sizes.

5. Categories Toggle

5.1
Toggle Button

Use the toggle buttons to quickly switch between the Transactions screen and the Categories screen. This makes it easy to find your top spending categories, and easily spot your biggest expeses.

5.2
Categories

On the Categories screen, you can easily see your top spending categories along with the total amount spent in each one. This view helps you understand where your money goes at a glance.

5.3
Expand Category

Tap on any category to view all transactions associated with it. This allows you to drill down into the details and review individual expenses or income within that category.

6. Transaction Reports

6.1
Yearly Reports

Show your budget for each month and whether you stayed on track, overspent, or saved a little extra. This overview helps you quickly understand your spending patterns and budget performance throughout the year.

6.2
Monthly Reports

Tap the More button on any month to access detailed reports for that specific period. This takes you deeper into your data, showing a clearer breakdown of how your money was spent during the selected month.

6.3
All Categories

Within the detailed reports, use the Show All / Hide All button to expand or collapse the categories list. This allows you to focus on the information you need while keeping the screen clean and easy to navigate.

6.4
Category Focus

Tap a category icon at any time to view only the transactions related to that specific category. This makes it simple to analyze spending in one area and gain more precise insights into your financial habits.

7. Scheduled Transactions

7.1
Schedule

You can save a scheduled transaction anytime by tapping the plus (+) button in the bottom-right corner, just like when adding a regular transaction. This makes it quick and easy to plan recurring or future expenses and income.

7.2
Save Transaction

The process for setting up a scheduled transaction is very similar to adding a normal transaction—you enter the amount, choose a category, name it, and set the date. This keeps the experience familiar and simple.

7.3
Remind Settings

The main difference is the Remind section, where you decide whether you want to be notified monthly or only once  This helps you stay on top of important recurring transactions without missing a beat.

7.4
Notifications

When the scheduled time comes, you’ll get a notification giving you the choice to add the saved transaction or disable it. This ensures you have full control while keeping your finances organized automatically.

8. Settings

8.1
Settings

The Settings section includes the classic options like Feedback, Rate the App, Import, and Export, along with various app preferences to customize your experience. 

8.2
Change Currency

Easily update the currency you use in the app to match your local or preferred currency. This ensures all budgets, transactions, and reports are displayed accurately.

8.3
Edit Names

The Edit Names option lets you manage the names you’ve saved for transactions. You can delete names you no longer need or rename existing ones to keep your list organized.

8.4
Rename

To rename a saved name, simply choose the Rename option, enter the new name, and tap the RENAME button. Your updated name will now be available for future transactions.